

PHASE 1: THE SCULPTING
The first stage is to sculpt the souls boss character, I sculpted the souls boss character in Zbrush. I polypainted the sculpture in Zbrush itself. I then exported the polypainted sculpture into Blender for rendering and sculpture showcase.
PHASE 2: RETOPOLOGY
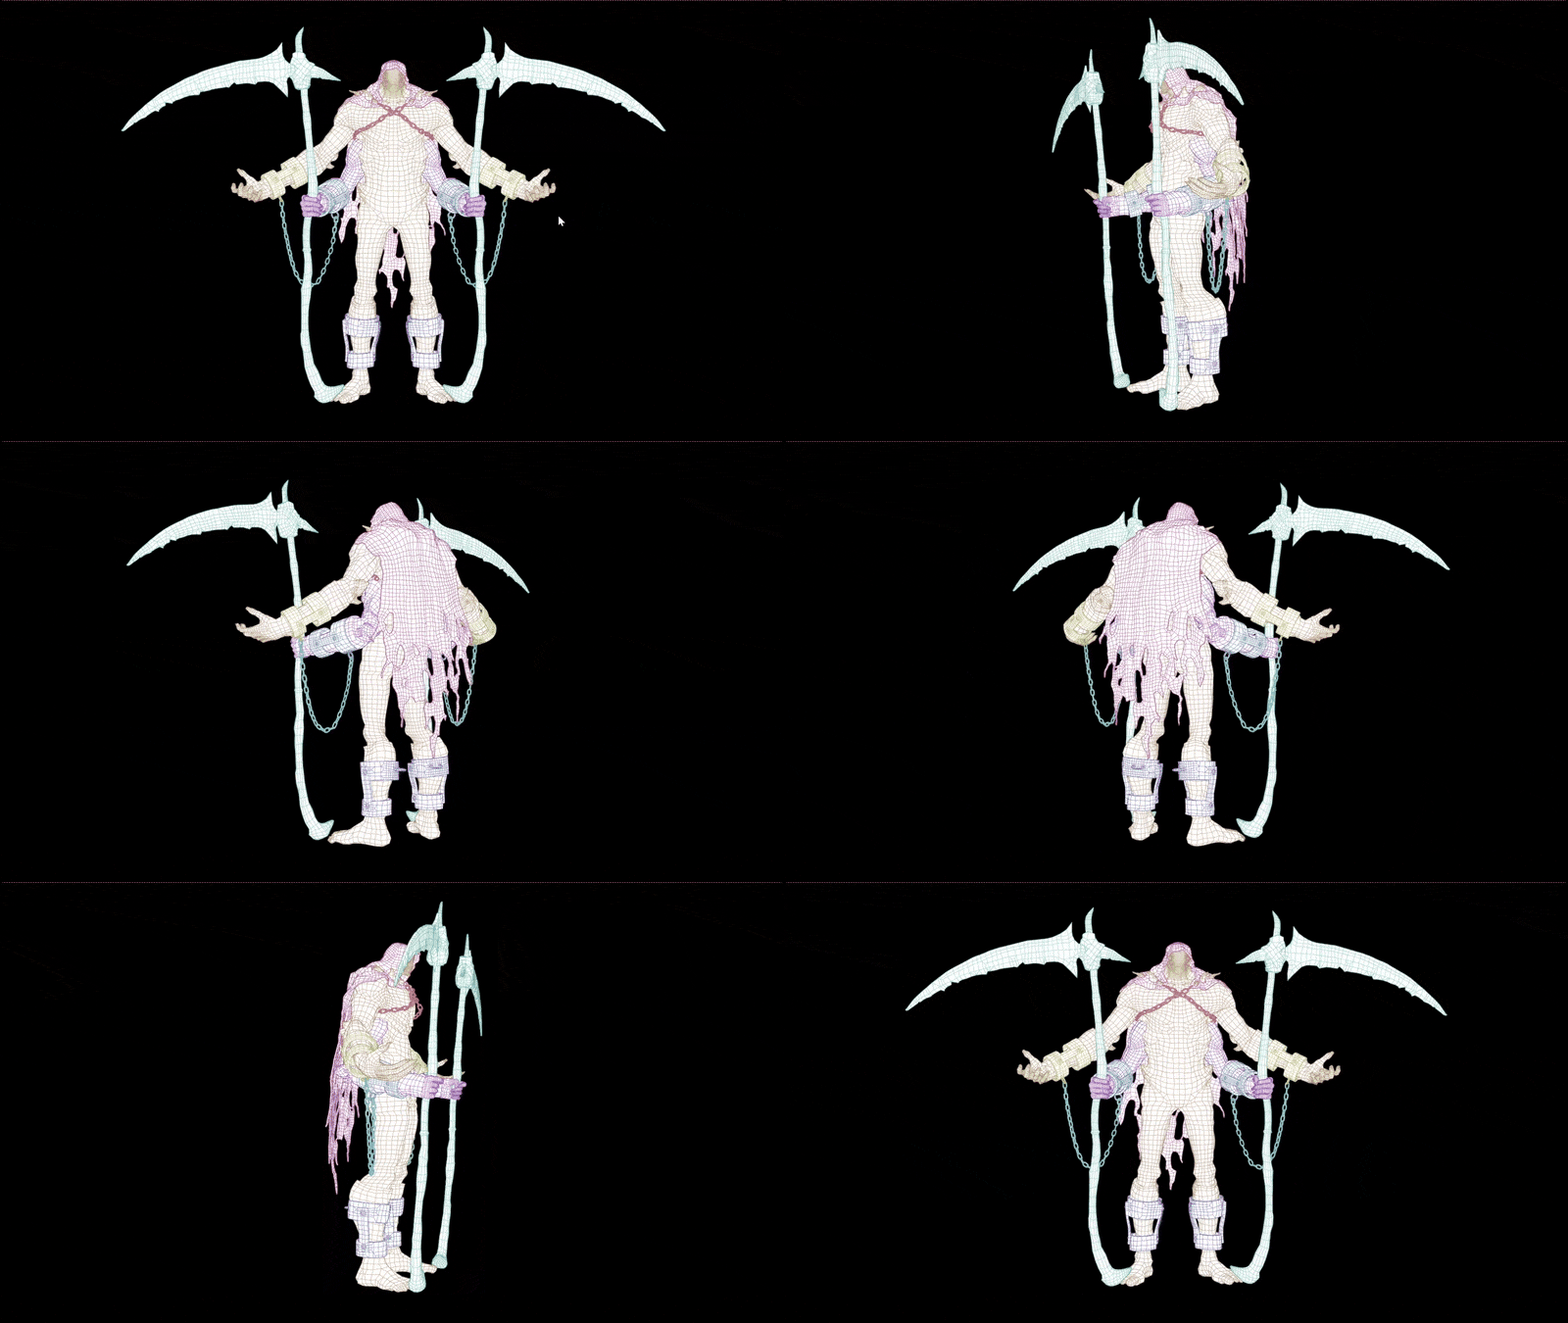
After sculpting, it is time to create a mesh that is suitable for animation. I retopologized the sculpture using the Retopoflow add on in Blender. The retopology process helps in controlling the number of polygons

PHASE 3: UV Unwrapping
In this stage I prepare the 3D mesh to be textured. A UV Map is prepared, the UV Map data helps in transfering the 2D texture data to the 3D Mesh. Its just like a toffee wrapper which is wrapped around a chocolate, when its wrapped around it looks 3D, but its actually a simple piece of paper. To ensure appropriate sizing I used the UV Grid texture, the density of black and white square shows how much detail can we put there.
PHASE 4: Baking and Texturing
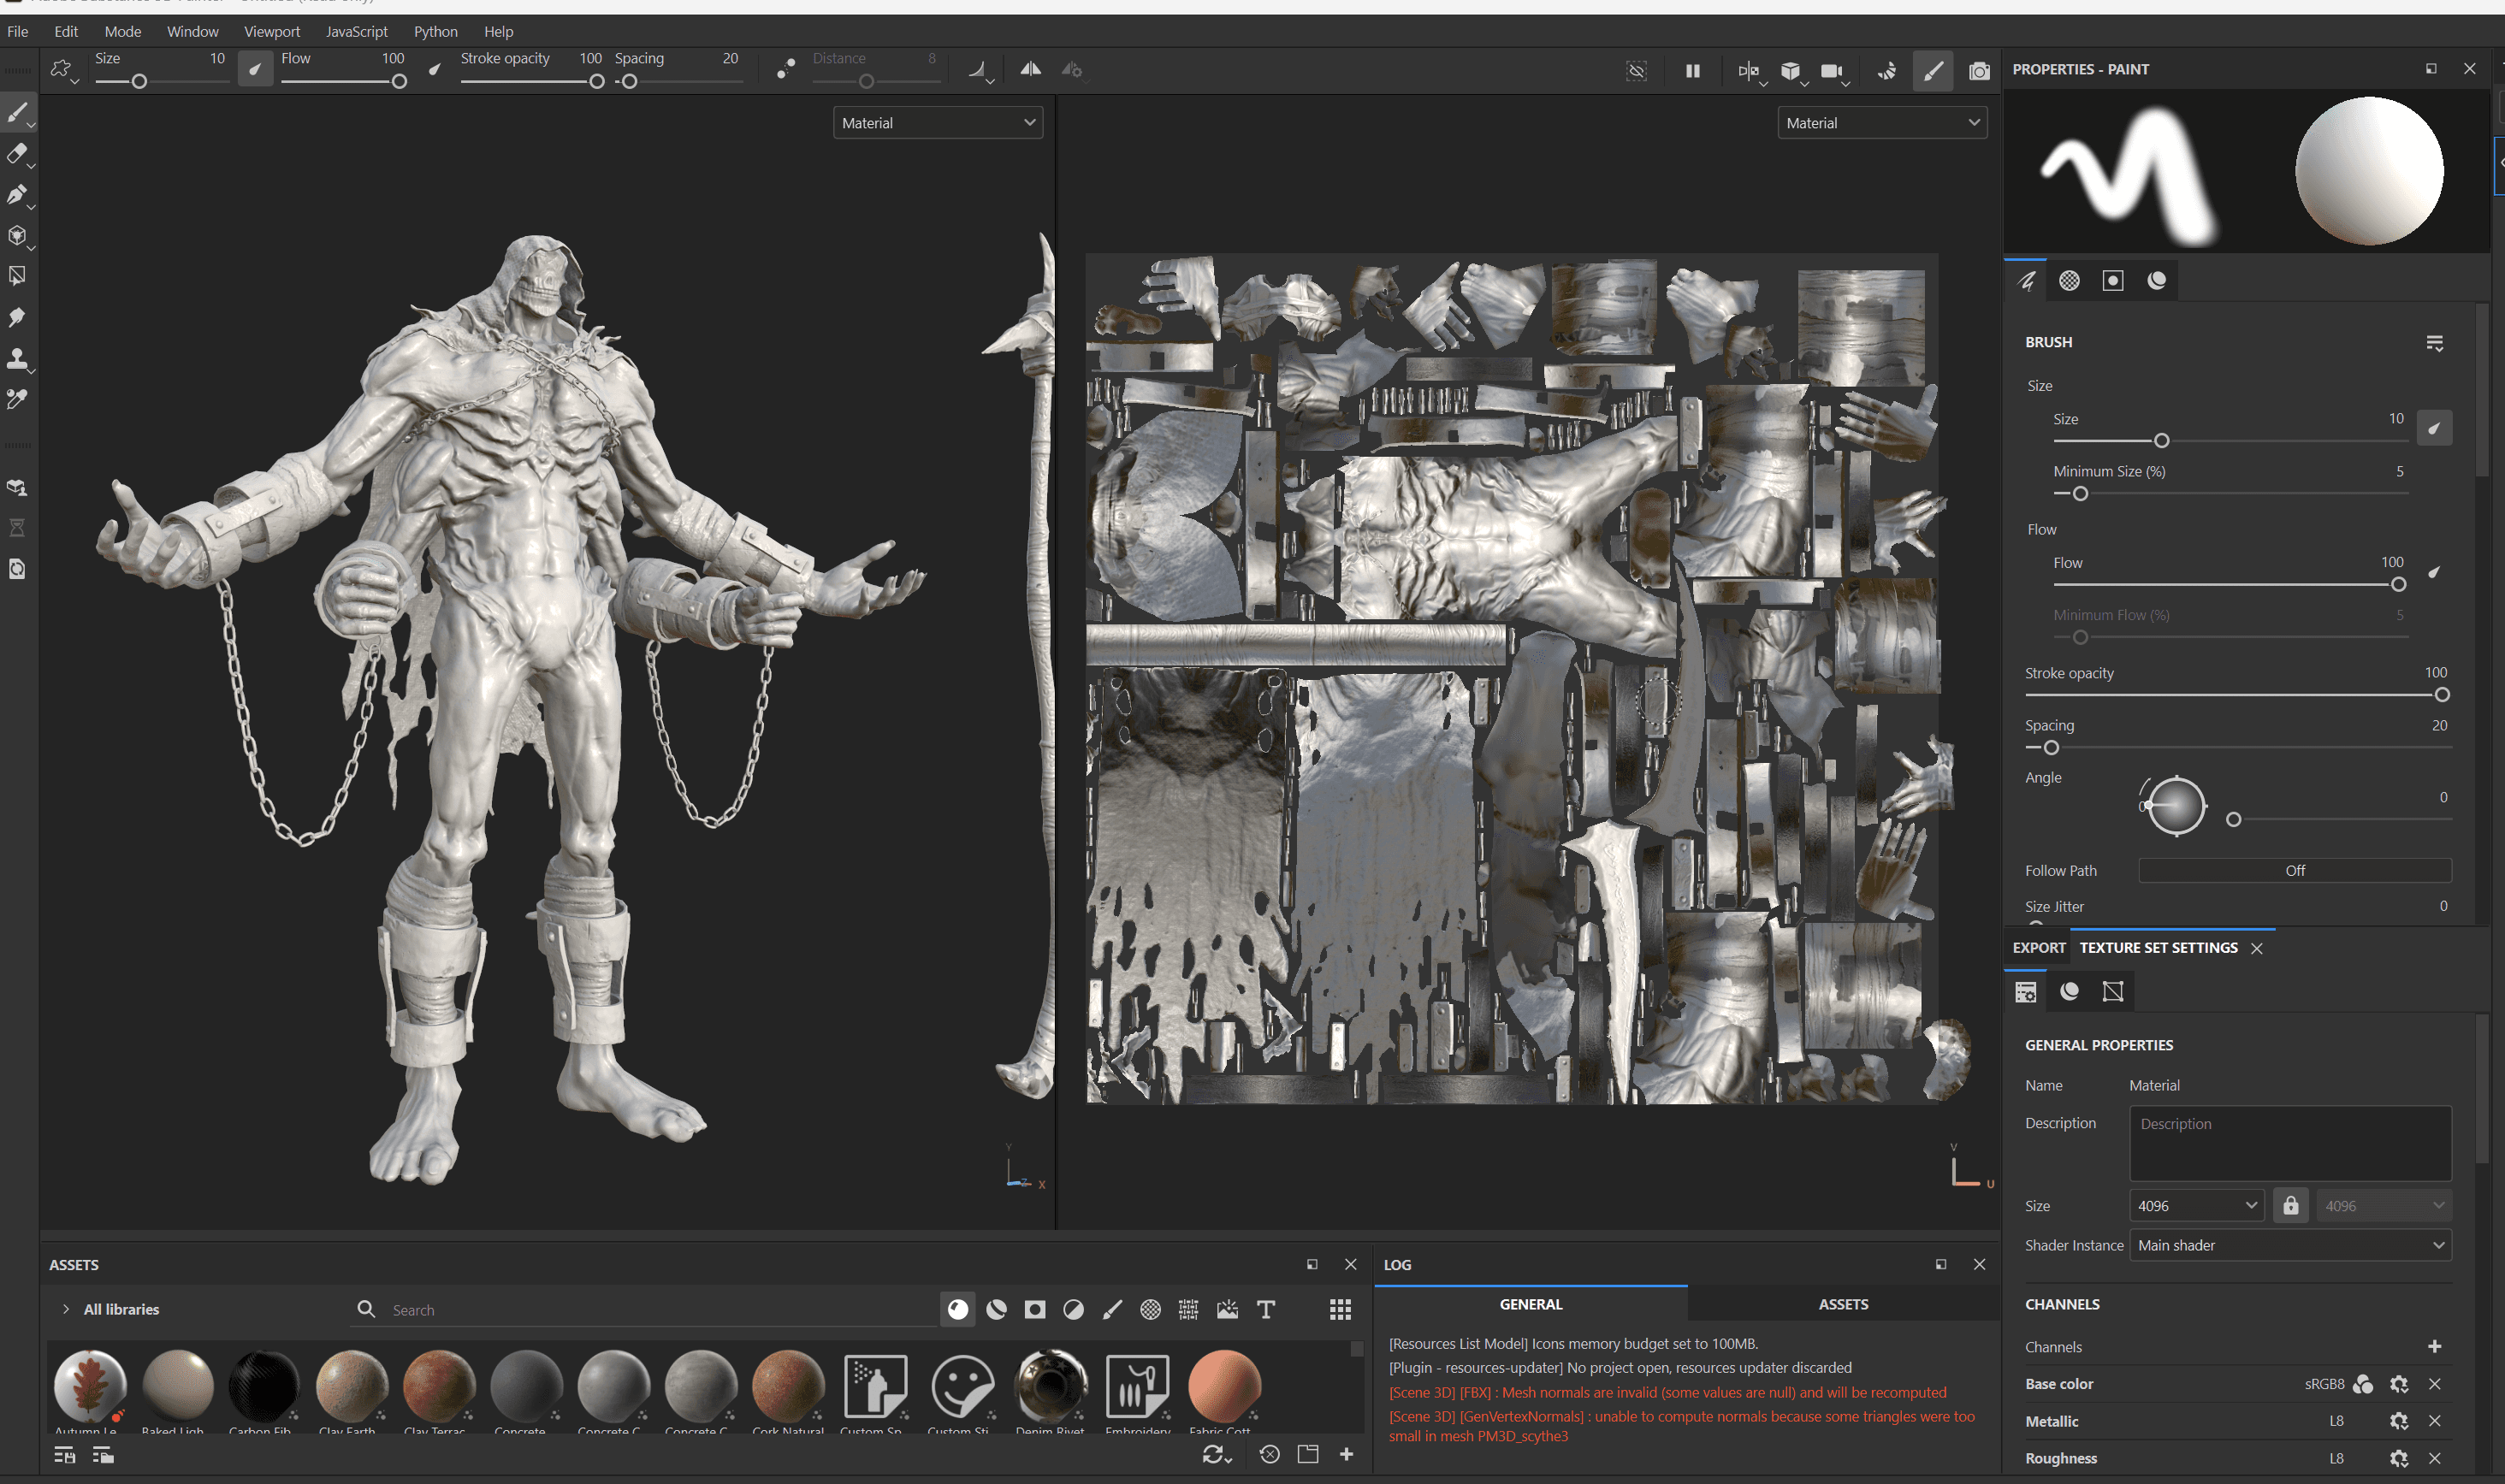
Baking and Texturing was done inside of Substance Painter. I baked the AO Maps, Tangent and World Normal Maps, ID Maps, Roughness Maps and Height Maps for this Character. Then I went on to texture the Character using the PBR Workflow.

PHASE 5: Rigging and Animation
I then brought the Model into Blender for the Rigging and Animation. The Rigging was done using Auto-rig pro. The animation was done manually. With an environemt setup, a volumetric shader and a camera shaking walk cycle, I finished of the project by rendering it in cycles!
Thanks for stopping by!
What started as a simple concept is now a fully playable, game-ready character. From the first sketch to seeing it come alive, every step was about making sure the design looked great, moved naturally, and fit perfectly into its world.
If you liked this project, have a look at my other characters or drop me a message — I’d love to chat about bringing your own ideas to life.